Anchorage Crafts Community

Arts, Crafts and friends in Anchorage.
If you want to help me to create a Craft Community in Anchorage, please contact me on my email meglitle@hotmail.com

7/01/2010

Redwork Graphics

Red work Patterns

Patterns

Redwork Patterns

Redwork Patterns

Redwork Instructions

Do you love the look of Redwork? Here are easy Redwork instructions to help you get started. Redwork has a timeless appeal and is easy to do. See for yourself! 

Needle

Choosing a needle is one of preference. Any needle fine enough not to damage the fabric and has an eye big enough to accommodate the thread can be used. Experiment with a number of different needles to see which one you prefer.


Thread

Any color of any type of thread may be used. To achieve the "authentic" Victorian look, use either red or blue floss.

To replicate the "turkey-red" color, try DMC #304 (Medium Christmas Red) or DMC 498 (Dark Christmas Red). For Blue Redwork, DMC #312 is often used.


How many strands of floss to use depends on the effect you are trying to achieve. Use:
  • One (1) thread for very delicate lines

  • Two (2) threads are usually used by embroiderers for the body of the work

  • Three or four (3 - 4) threads for a bolder coverage.

According to my research on the subject of red floss, many embroiderers don't believe modern red floss is colorfast even though the manufacturers state they are. It has been suggested that you soak your floss in vinegar and water for 20 minutes then roll it in a towel to wring it out and hang it to let it air dry. This is supposed to keep if from "bleeding" on your embroidery piece. (I don't personally know if it's necessary or if this works, so if you have any information on this, please share it with us!) Since colorfastness is a question, be sure to keep your floss dry while working with it. This also includes not wetting it to thread your needle. If you do, you run the risk of having the red bleed onto your fabric. If threading your needle is a problem, use a needle threader. They are inexpensive and can be found in any sewing or craft store.


Stitches Used

One of the things that attracted embroiderers to Redwork was the simple embroidery stitches used. Stitches most commonly used are:
  • Backstitch -A stitch made by inserting the needle at the midpoint of a preceding stitch so that the stitches overlap by half-lengths.
  • Outline stitch or Stem Stitch - consists of a long stitch forward on the face of the material, and a very short stitch back on the under side. This is also called "cording stitch" or "stem stitch." The needle is brought up beside the preceding stitch.

    Please note: The Backstitch and Outline Stitch are two DIFFERENT stitches - although similar. When working the Outline (Stem) stitch the thread stays below or to the right of the needle when it's inserted into the fabric. When working the Outline Stitch, the thread stays above or to the left of the needle when it's inserted into the fabric.
  • Split Stitch. This stitch was used often on tight curves. A split stitch is made like an outline stitch but the needle is brought up through the preceding stitch, instead of beside it.
Choosing which kind of stitch to you is personal preference. It is important though to use the same stitch throughout the project. Switching between different kinds of outline stitches will not give you the results you desire.


Other stitches Used

The following stitches are used to enhance Redwork. They are to be used sparingly, if at all.
  • French knots. French knots are used primarily for the center of flowers, seeds, or anywhere small dots are needed. A French Knot is made by twisting the needle once or twice around the thread, passing the needle straight down through the material, and drawing the knot tight.
  • Straight Stitch. This stitch was used for small straight lines.
  • Satin Stitch. This type of stitch was used to emphasize a certain part of a design. A Satin Stitch consists of regular long stitches closely laid together to represent a smooth, raised, satin-like effect.

Fabric

Redwork was worked on plain cotton muslin. Today cotton muslin can still be easily found in both white and ecru. Although Redwork can be work on almost any fabric with good results, most embroiderers prefer to use cotton muslin because it is "authentic" and provides the look of an old Redwork piece. Whatever fabric you use, don't forget to wash it BEFORE you start your project!


Transfer your design onto your fabric.

There are a number of ways to do that easily. See
transferring your designs for more information.


Hoop

Using a hoop is your preference. Many embroiderers find using a hoop when working with Redwork helpful. See more about Hoops. Redwork DesignsRedwork designs can be found on the Internet or old books. Since Redwork designs are simple line drawings, you can use almost any kind of pattern to make your own. Children's coloring books are a great source. Another great source for outline drawings, that are FREE, is Dover Publications. Sign up for their newsletter and you will be notified of books for sale that week. Each book generally has two or three pages you can download. They even give the instructions on how to do this. I have found many nice designs that would be great for Redwork there.

6/27/2010

History of Redwork

Redwork is believed to have originated in Europe in the early 1800’s and traveled to America around 1850 with the availability of color fast red floss. The availability of color fast red thread and inexpensive cotton fabric led to an abundance of interest in this type of embroidery. From the 1860’s through the 1920’s it became popular for young girls to be taught to embroider using red thread floss on cotton squares using simple patterns. These "penny squares"—the simple cotton and floss could be purchased for a penny in dry goods stores across the country—were quickly stitched and often put together block by block into lightweight bed covers.
The outline or running stitch is used primarily for the design with the occasional more fancy stitches of Crazy Quilting being added for embellishment.
Redwork designs were used for home decorating during this time period. Vintage Redwork pieces can be found across America today at antique stores and flea markets. The designs were usually used in dresser scarves, coverlets, towels, and other items for home decoration. This type of embroidery was applied to very functional pieces of linen or cotton that were meant to withstand daily use. It was not unusual for moral sayings expressing the virtues of hard work to be stitched in script with flowers added for a charming effect.
A resurgence in this simple embroidery began in the late 1990’s and continues today. Redwork groups have sprung up at quilt stores as women fall in love with the simplicity of the vintage designs and the easy use of the patterns.

REDWORK technique

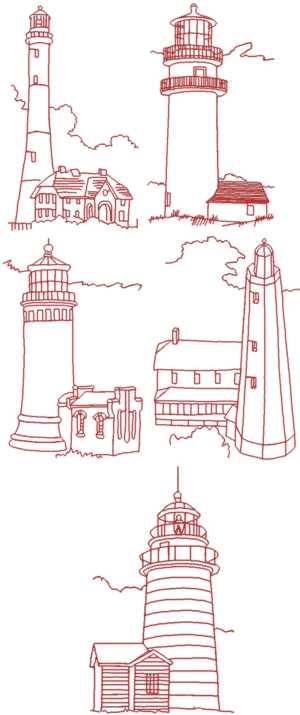
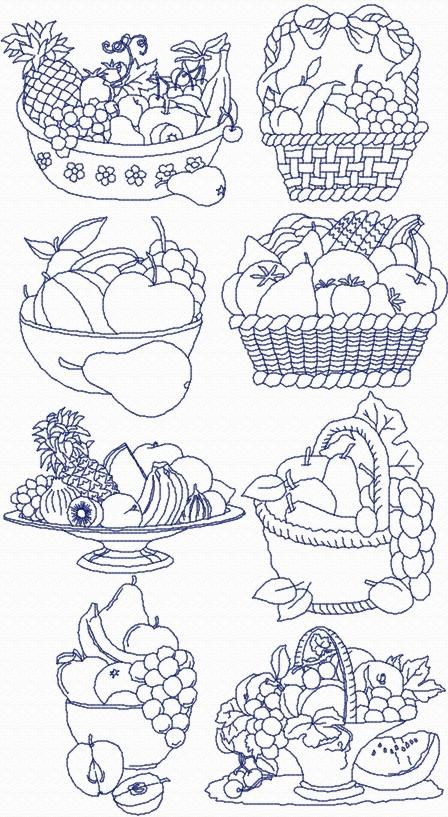
Redwork is a form of embroidery which uses red floss to trace simple line drawings. Traditionally, animal themes, children's themes, nature themes, and kitchen themes. Redwork can be done in other colors, changing the name to greenwork or bluework, etc. Redwork done in black is called Black Redwork because Blackwork refers to a specific single thread embroidery technique. It became popular during the Victorian era as women searched for new ways to decorate their homes. The idea of Redwork came to America from Europe, where it was called "Turkey work". Turkey red was one of the few colorfast colors of the time.

These embroideries were also called "penny squares". According to quilt historian Cindy Brick, "the term ‘penny squares’ only holds true for a brief time, when a square of fabric stamped with a pattern was a penny – and so was a skein of red cotton floss." Muslin squares were sold with the patterns marked for a penny each. These then could be used as quilt blocks with sashing added around the borders. Redwork was also used to embellish tea towels, aprons, pillow covers, splashers and other Victorian decorations.


Traditionally the main stitch that was used to outline the designs was the Stem Stitch (right, worked with the working-thread to the right of the needle) or Outline stitch (working-thread to the left of the needle). This type of stitching was called the Kensington stitch and was popularized by the Kensington School for Girls in England during the 1880s. The Satin Stitch was used sparingly to fill in small enclosed areas. The Backstitch or the split stitch was used to cover tight curves and occasionally to outline the designs. The Straight Stitch was used to cover small straight lines. French Knots were used for eyes, strawberry specks, and any other place where a small dot was needed. The Feather Stitch was used along the seams of pieced quilt blocks.

Some basic knowledge before you begin


HOOPS - hold the fabric for you while you are stitching but are not always needed. Using size 7 & 6 inch hoops, or smaller, makes it easy to hold in your hand and be able reach the center of the design, unless you are using a hoop frame, than 10" hoop works well. Hint; I tend to pull my stitches too tight, so I keep the fabric a bit lose in the hoop so I can see if the stitches are pulled too tight.

NEEDLES - Embroidery/Crewel needles size 5 - 10, select the needle size that will easily glide through your fabric and has an eye large enough for the strands of floss.

FLOSS - Most often used in six strand cotton floss. Cut off about 25 inches of floss to work with and pull out one strand at a time, before threading the needle. This helps the threads to lay flat while you are stitching, stop and untwist the strands once in awhile. Most embroidery uses 2 to 3 strands of floss.

PRESSING - When embroidery is finished press face down on a terrycloth towel. This makes your embroidery work stand out.

To begin your redwork project, first trace the design lightly on the muslin with a sharp lead pencil or water soluble pen by placing the design under the muslin. A light box makes this easier, but taping your design to a window will work, too. Clover makes a pen that makes a fine white line which can be erased or removed with water. If you prefer, you can trace your design with pencil or pen onto tulle or nylon netting, then lay the tulle over your ground fabric and trace through the tulle using a white pen or chalk.
Whether you use a hoop or not depends on how you stitch. If you stitch with your hand below the fabric, push the needle to the front, then transfer your hand to the top and push the needle to the bottom, you should use a hoop as that type of hand use won't put as much stress on the tautness of the fabric. If you keep your hand on top of the fabric to make your stitches, then not using a hoop may work best since this places more stress on the fabric's tautness. If you choose to use a hoop, be sure to remove your project at the end of each session to avoid hoop marks.
Usually you will thread your needle with 2 strands of floss. One strand is used for very delicate outlines while 4 strands gives a bolder coverage. (DMC embroidery floss - number 817 (dk coral red), 498 (dk Christmas red) or 304 (med Christmas red) If you are using Sulky (Cotty) thread, the BayBerry Red is the closest in color to DMC 498, and the 12wt is about two strands of floss. 

Embroidery needles have a large, long eye and a sharp point. A size 9 is a good size for all Redwork. Use a needle threader. Thread the newly cut end into the needle, folding the floss end in half and threading that through the eye if you have trouble.  To keep your embroidery firmly in place, use a simple single wrap knot to secure your endings. To hide your tails, or for a smoother back, begin and end by laying floss along back and taking a few catch stitches over it or weaving the tail through two or three stitches. This is important for redwork which will be used as quilt blocks.